DTCI-03 / CENTERMOON VISION SOFTWARE

Digital Centering System

Image-based observation, decenter measurement and automatic acceptance decisions for a range of centering instruments.

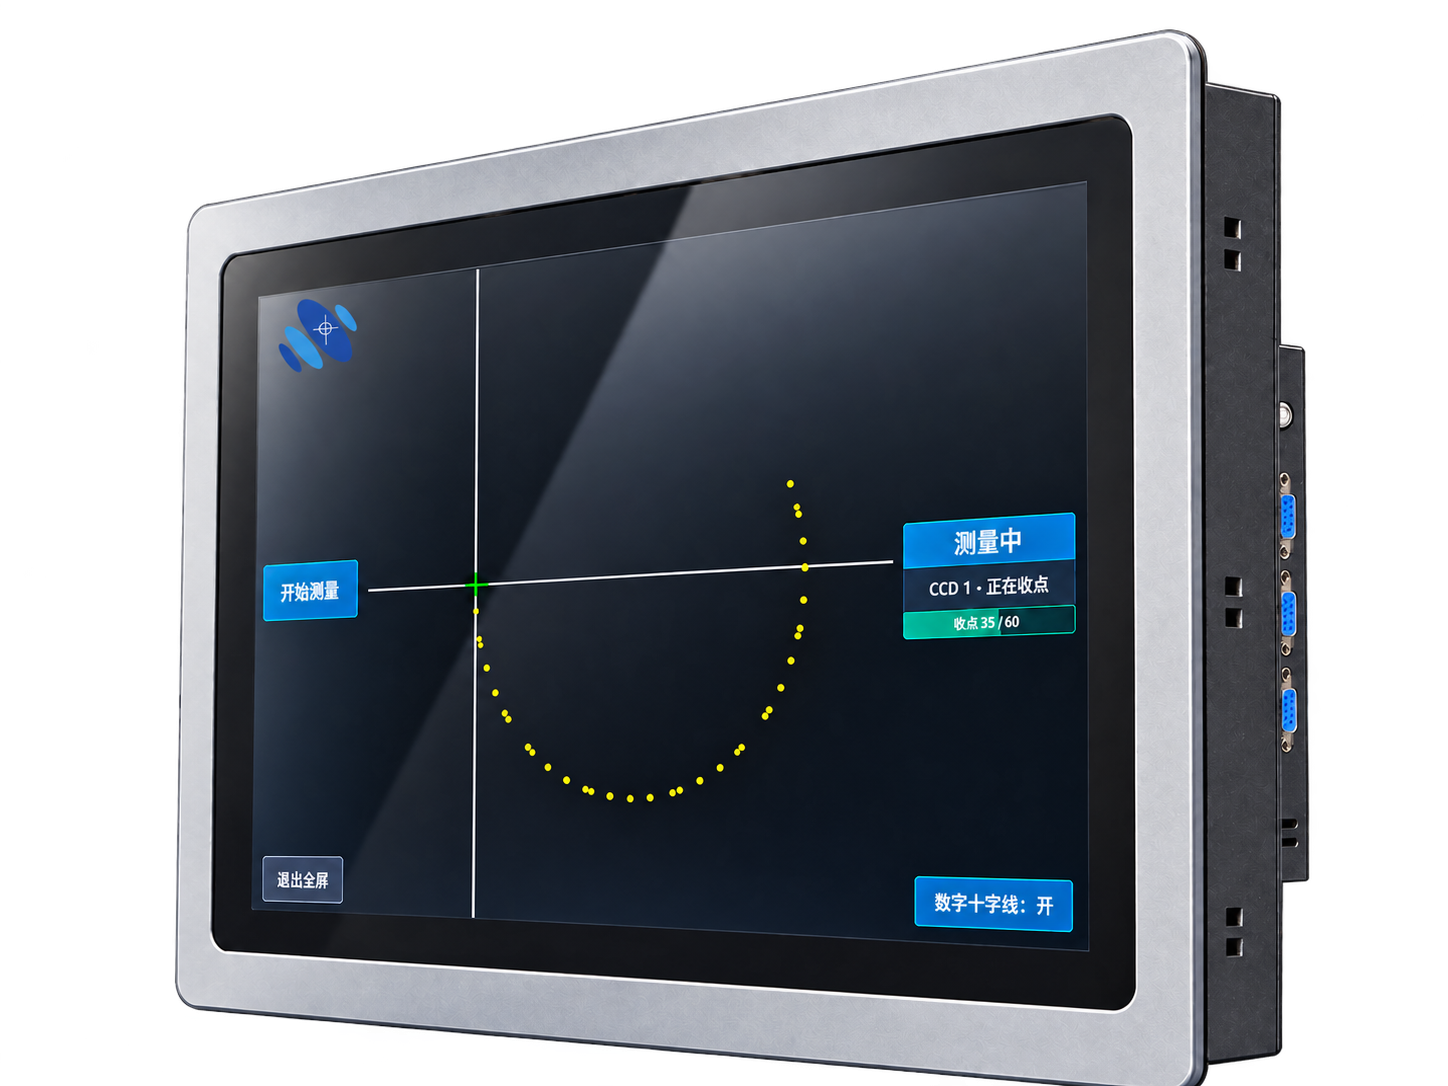
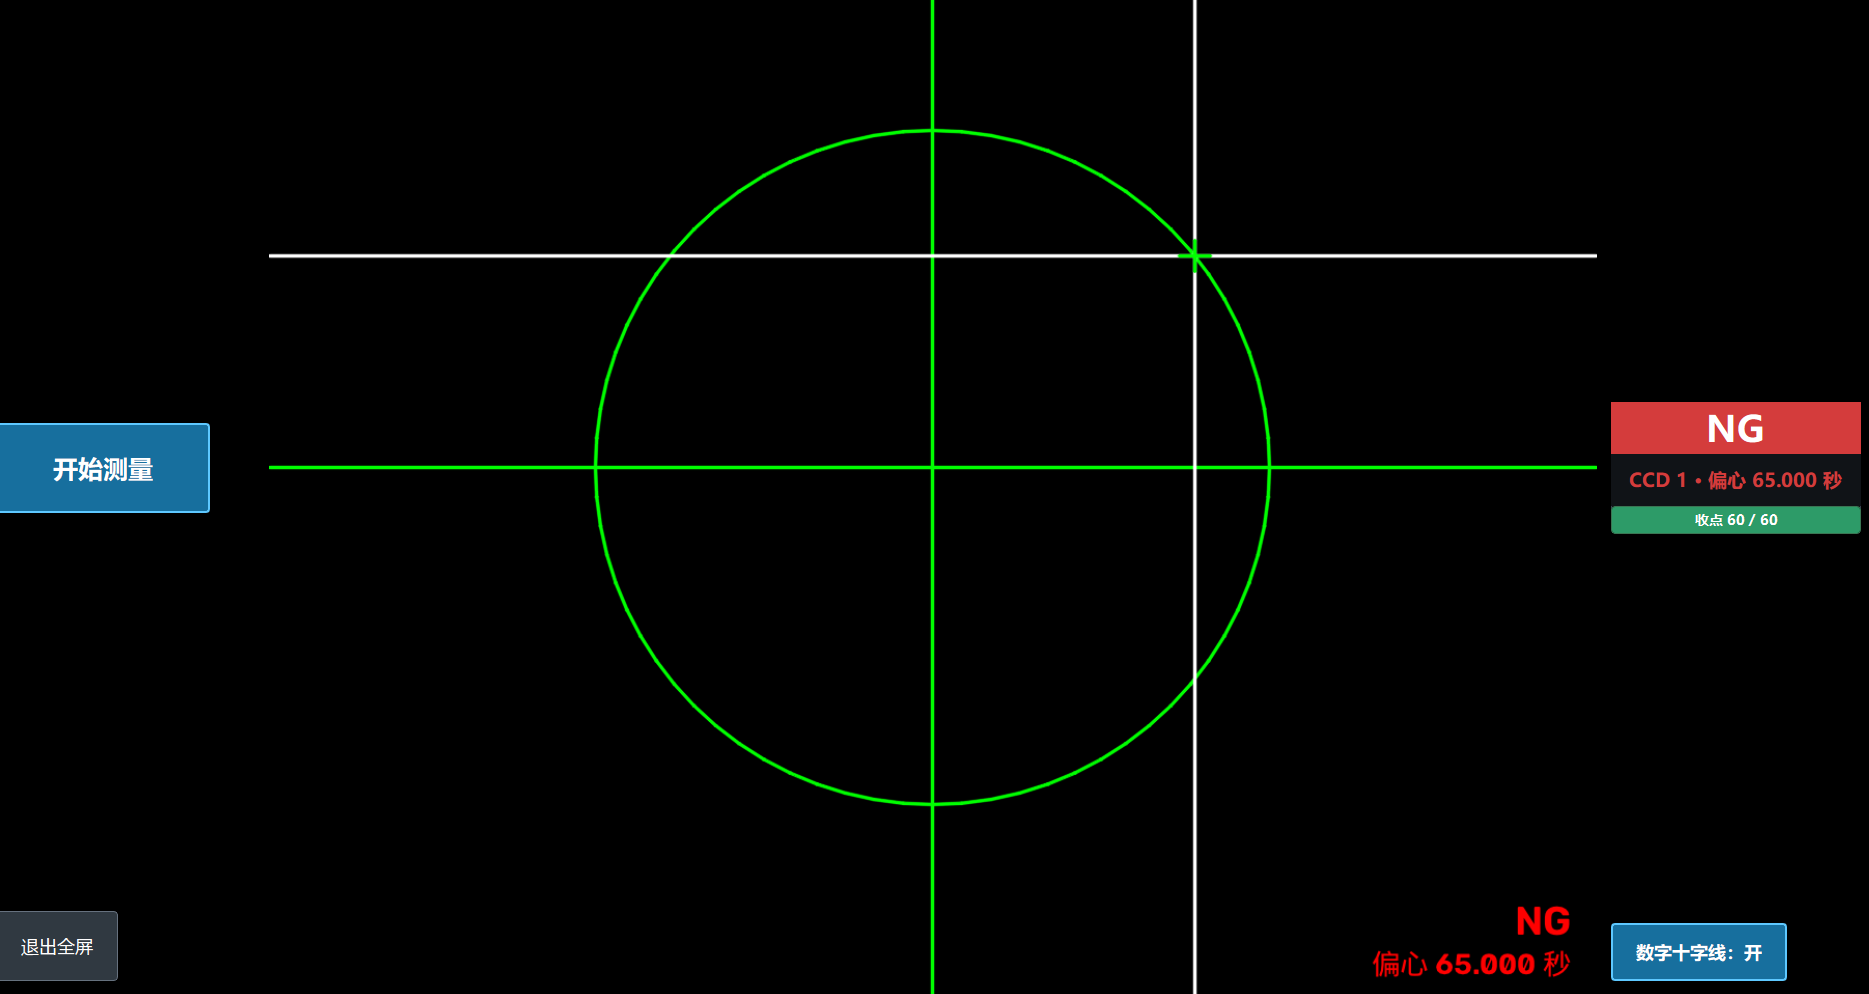
Example of the CenterMoon vision measurement interface

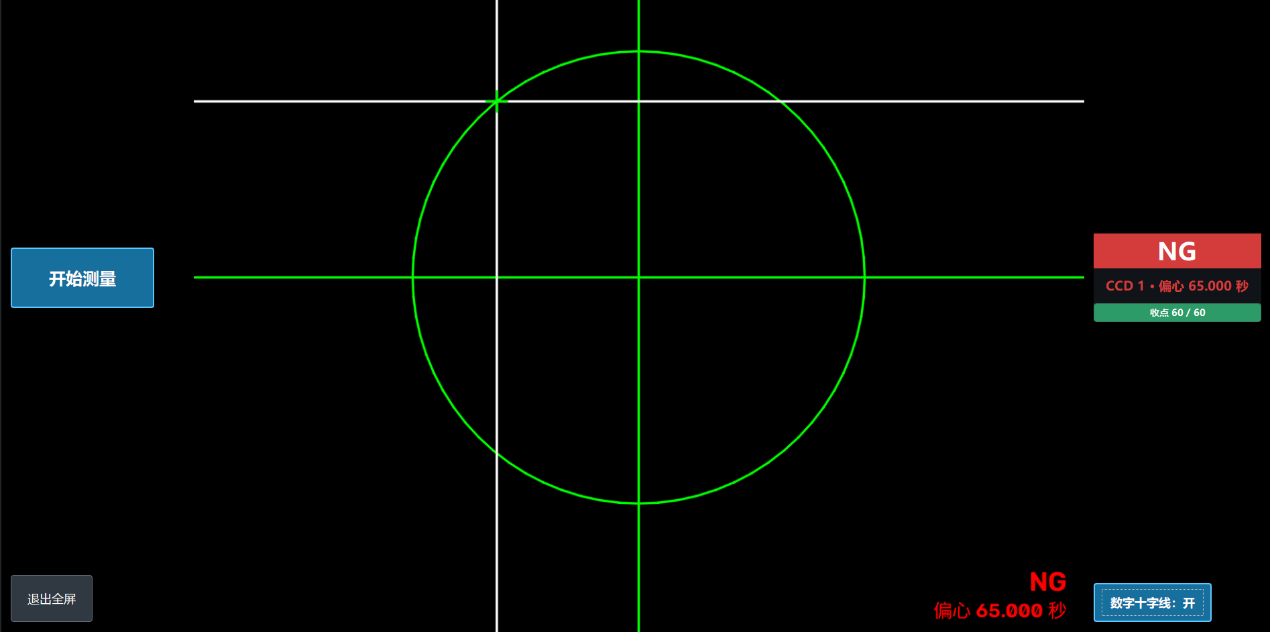
Example of the CenterMoon vision measurement interface

Compatible instrument types

  • Transmission centering
  • Integrated transmission / reflection
  • Dual-path centering

Overview

See the measurement state and result clearly.

Digital Centering System

The digital centering system pairs CenterMoon vision software with centering instruments used in lens edging and production. Image observation, decenter measurement and acceptance decisions share one interface, helping operators adjust centering and verify quality on the production floor.

Core functions

A clear path from observation to traceability.

01

Visible measurement process

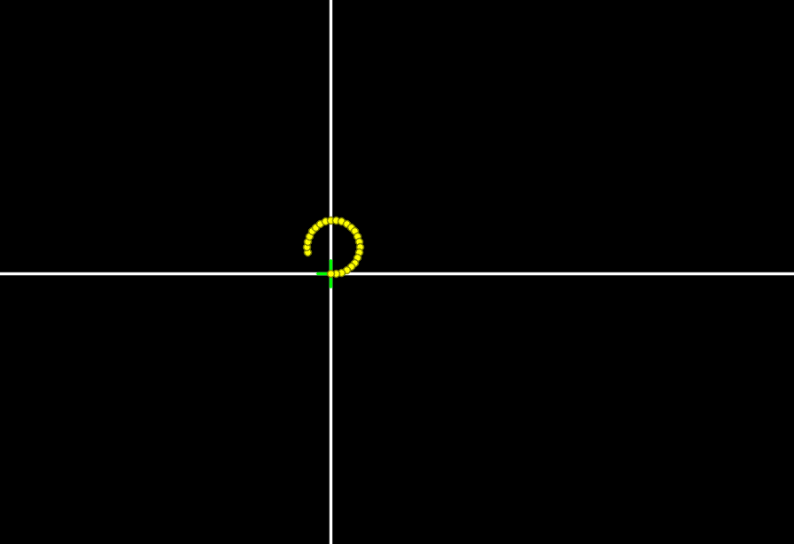
The interface shows the live image, measurement progress and result together. Digital guides and image zoom help operators inspect details. A full-screen touch layout brings common controls and results forward for production use.

02

Automatic OK / NG decision

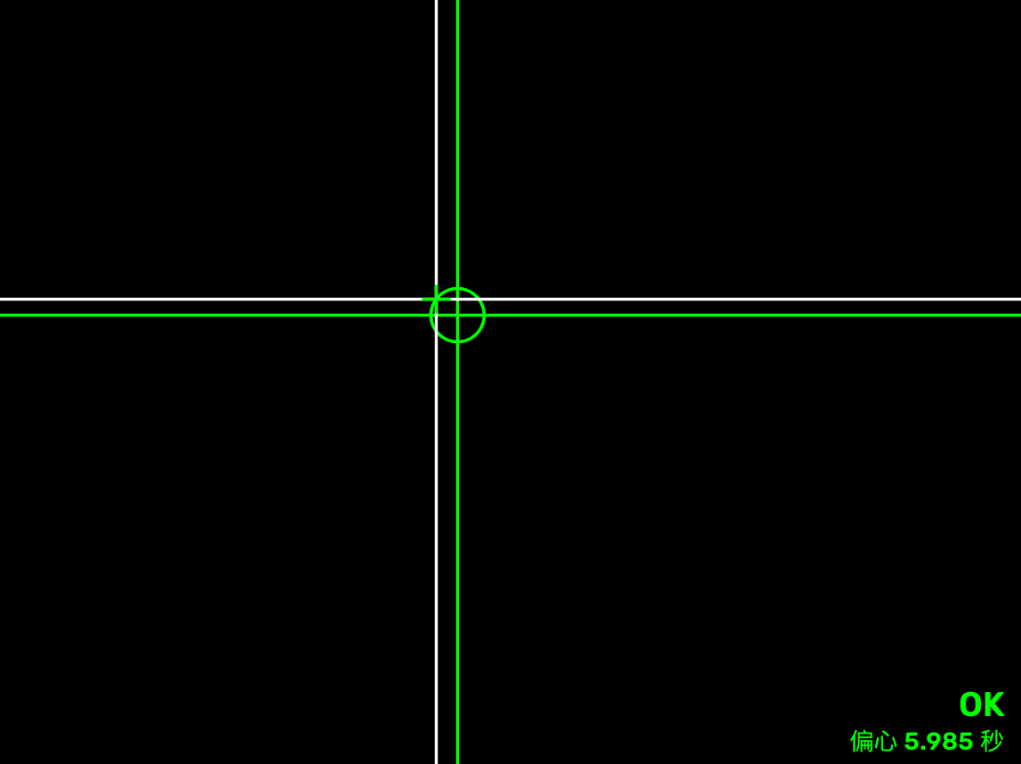
After measurement, the software displays the decenter result and an OK or NG decision against the preset process requirement. Operators can see whether a part meets the current limit without repeated manual calculation.

03

Recipes for different lenses

Lens recipes store inspection settings and acceptance requirements for different products. A confirmed recipe can be recalled for the next batch, reducing repeated setup during product changeover.

04

Records for review

After a successful measurement, the software saves the time, decenter result and pass status. Records can be searched by date and exported to Excel for shift review and quality traceability.

How to use

Measure with the right part recipe.

01

Start the system and check the image

Open the software and connect the camera. Confirm the live image updates and the target is visible. A disconnected camera or a missing valid new frame must not be treated as a valid measurement.

02

Select the lens recipe

Recall the confirmed recipe for the current part. For a new product, a technician should set and confirm calibration before saving a reusable recipe.

03

Measure and review the result

When the part is rotating for inspection, start measurement. The software shows progress, then the decenter result and OK / NG decision. Operators can review the full-screen result or zoom into image details.

04

Search and export records

Look up historical results by date. When records are needed for review or reporting, export the selected date to Excel.